制作小丑风格的硅胶伤疤
概述
Overview
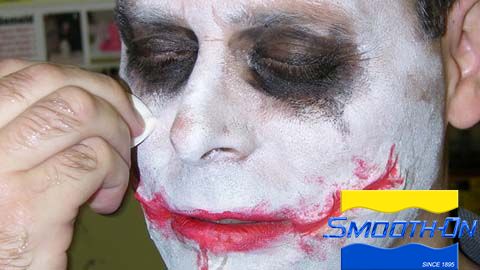
The Joker in the film 'The Dark Knight' is one of the most memorable screen villains of all time. His unique facial scarring and bizzare makeup has become very popular to replicate by fans of the film.
Using Skin Tite, these scars can be reproduced easily. While Skin Tite can be used to create these scars directly on the skin, the following is a technique illustrating how to make a rigid mold to create multiple prosthetic castings using Smooth Cast 300 and Skin Tite silicone.
You can also use the same resin mold for casting Dragon Skin or Ecoflex 00-30 silicone to make the scar appliances.
The makeup used in this demonstration is very inexpensive 'Halloween' style makeup, distressed to give a chaotic, weathered look to the performer.
Materials Used in this Tutorial
- Non-Sulfur Clay
- Melamine Board
- Paper Container
- Hot Glue Gun
- Gloves
- Ease Release 200
- Smooth-Cast® 300
- Isopropyl Alcohol
- Skin Tite
- Silc-Pig®
- Baby Powder
- Paint Brush
- Tongue Depressor
- Cream Makeup
- Mixing Containers
- Mixing Sticks
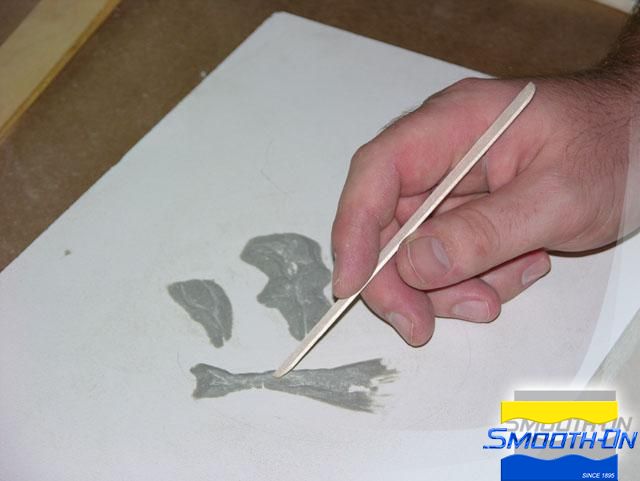
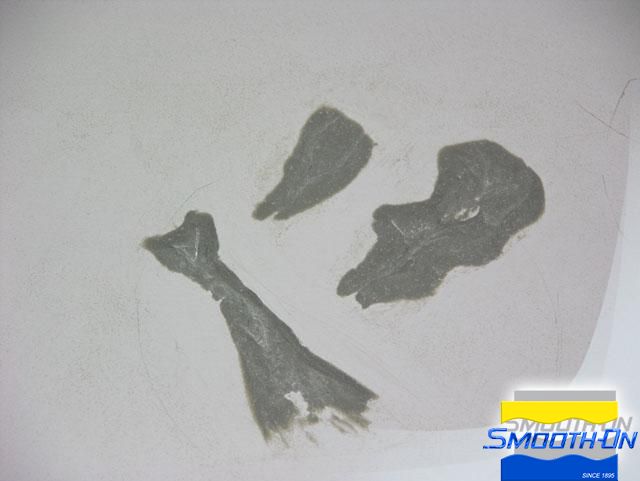
First, create the scar sculptures on a melamine board using a non-sulfur modeling clay, taking care to sculpt tapered edges on the scars.
Step 2: Preparing Your Work Station
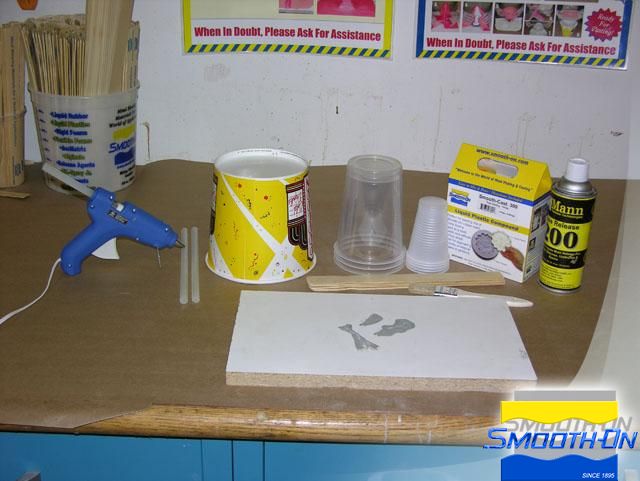
Cut a paper container in half. Place the container around the scars and hot glue it to the melamine board. Apply Ease Release 200 to the mold container and scar sculpts.
Safety First: Wear vinyl gloves when handling materials.
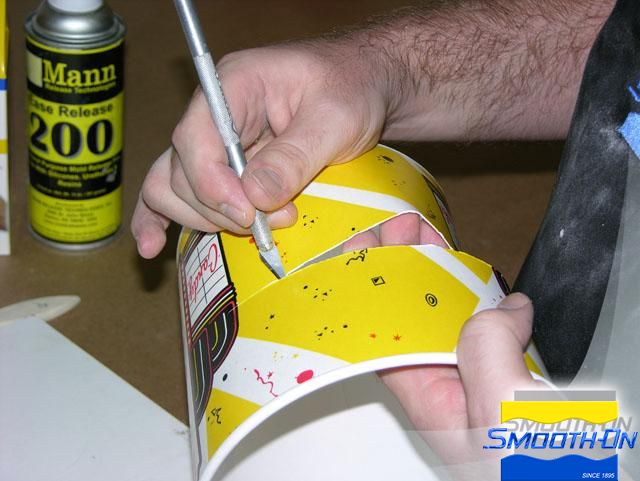
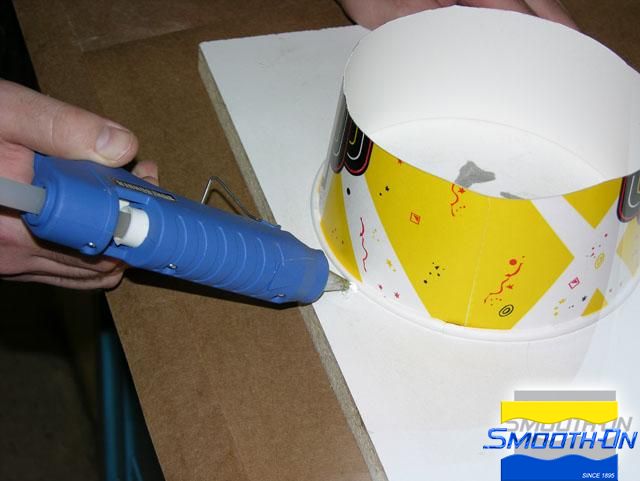
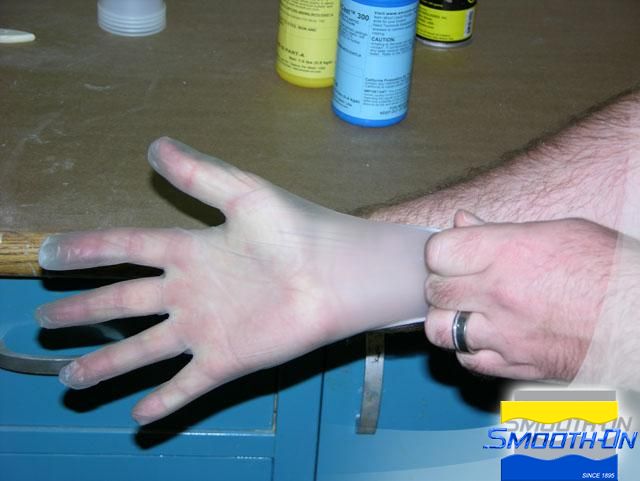
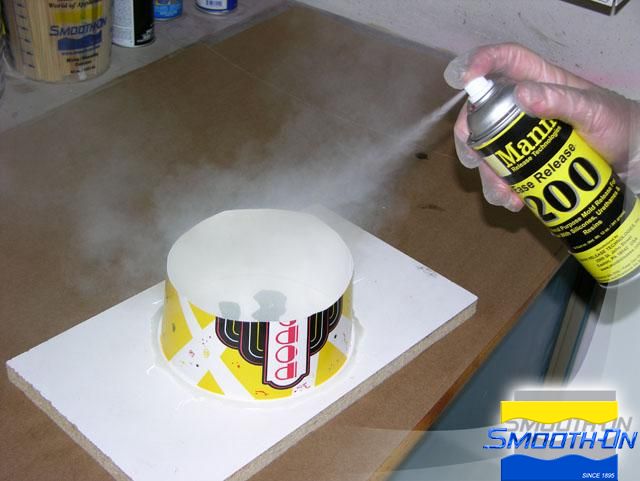
Step 3: Mixing & Pouring Smooth-Cast® 300
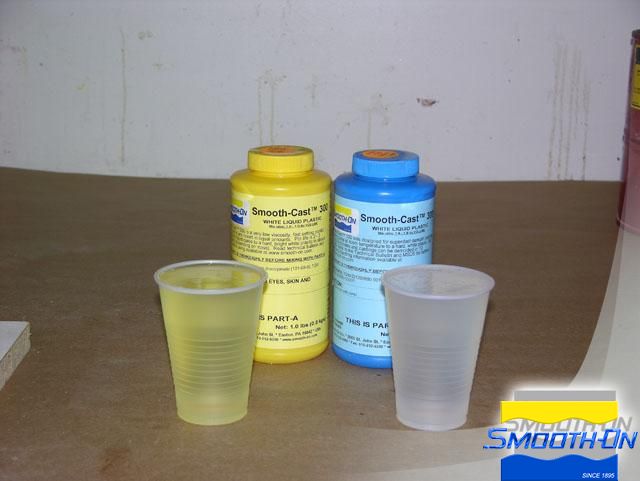
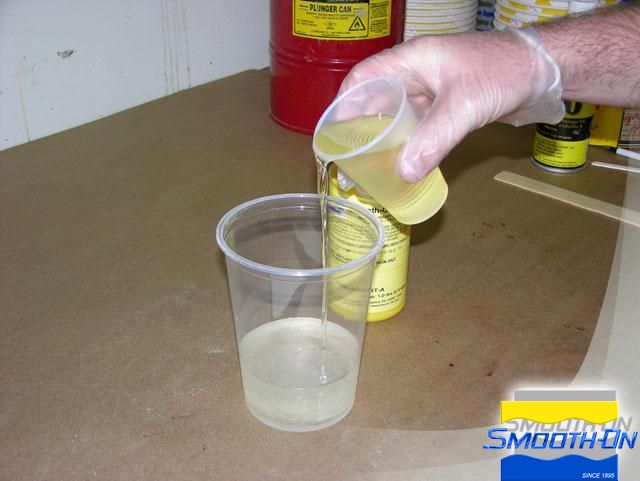
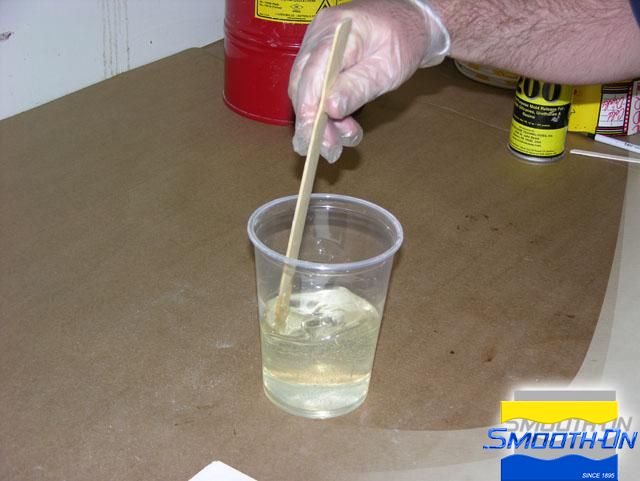
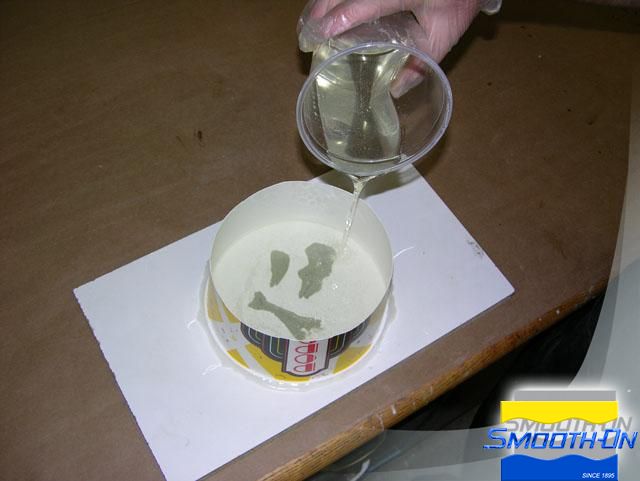
The mix ratio of Smooth Cast 300 is 1A:1B by volume. Add Smooth Cast 300 part A to part B in the mixing container and mix thoroughly for 90 seconds. Pour the mixed Smooth Cast 300 over the scar sculpts. They will begin to cure after just a few minutes.
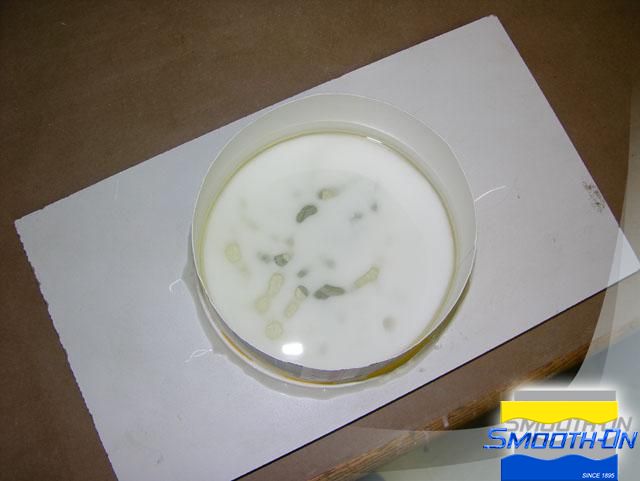
Step 4: Demolding Your Smooth-Cast® 300 Mold
Remove the mold from the board and then the paper container from the mold. You can remove any clay residue by using an isopropyl alcohol.
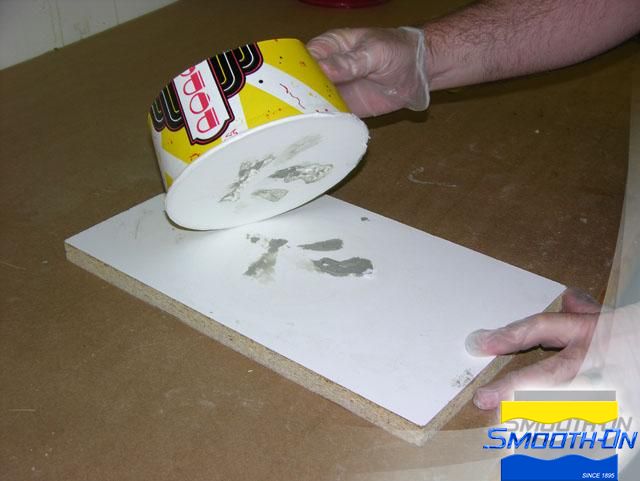
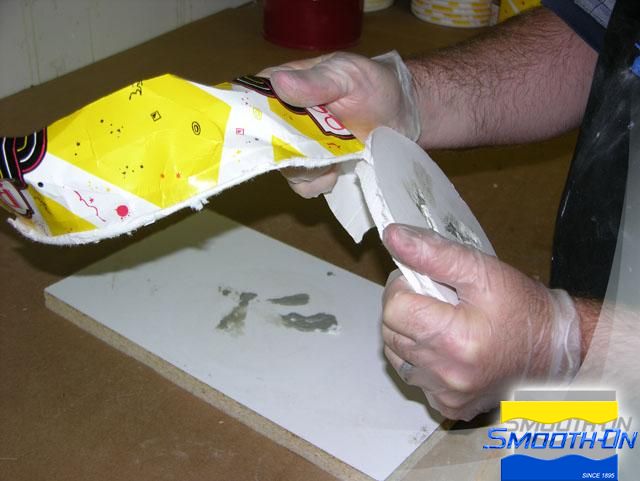
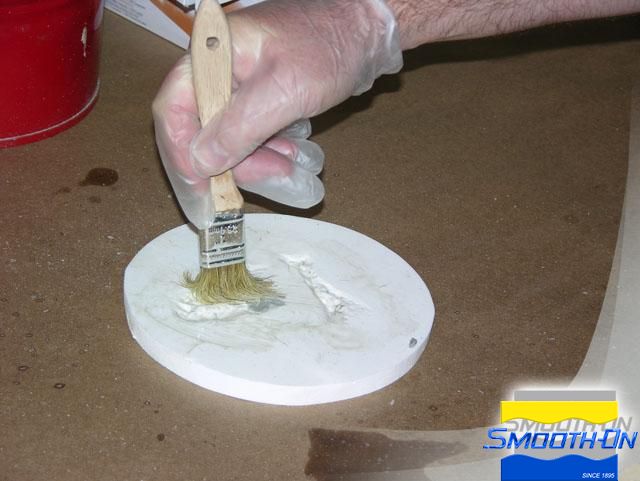
Step 5: Gathering, Preparing & Mixing Materials
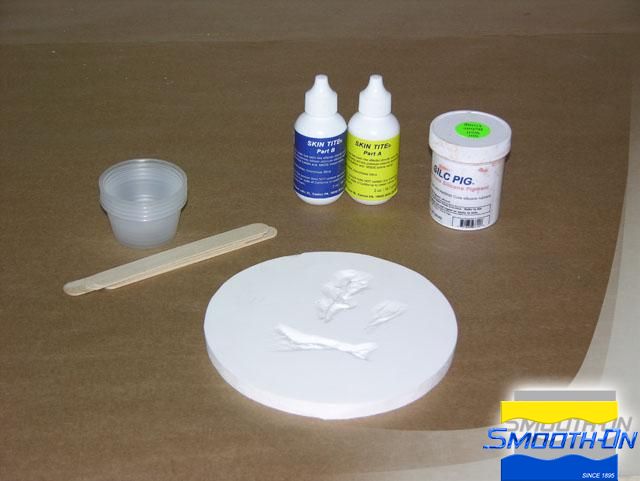
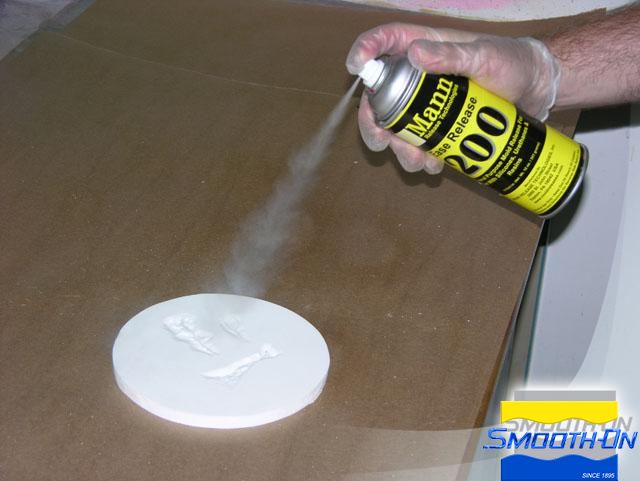
Assemble the tools and materials for casting the silicone scars and apply Ease Release 200 to the resin mold.
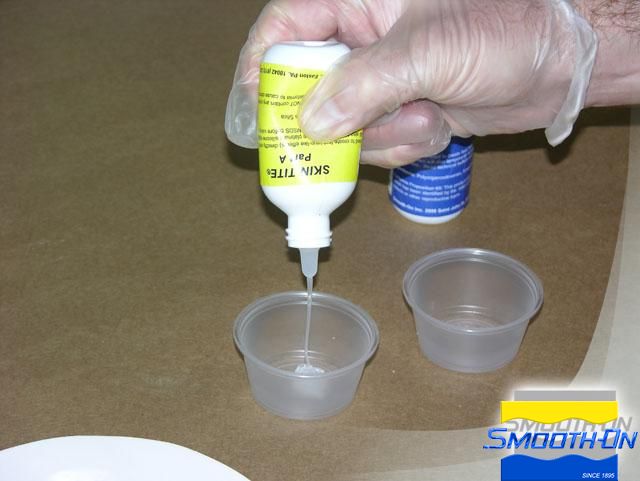
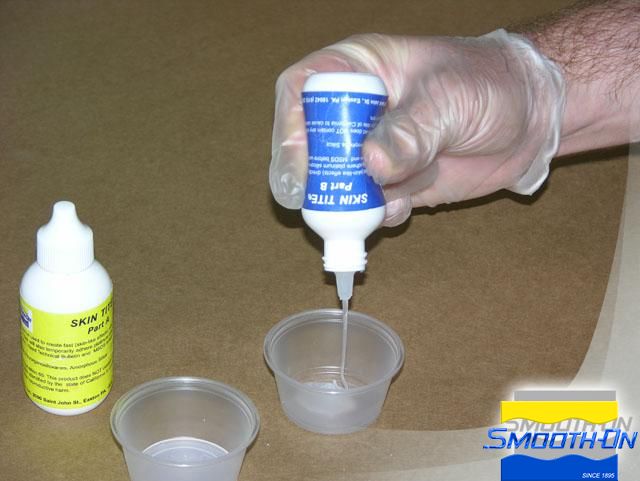
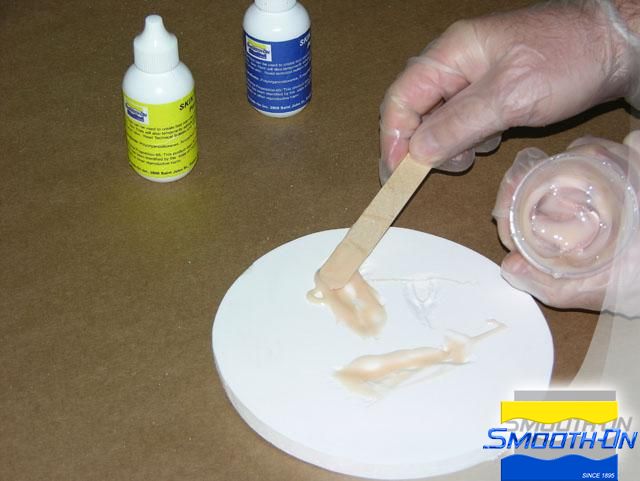
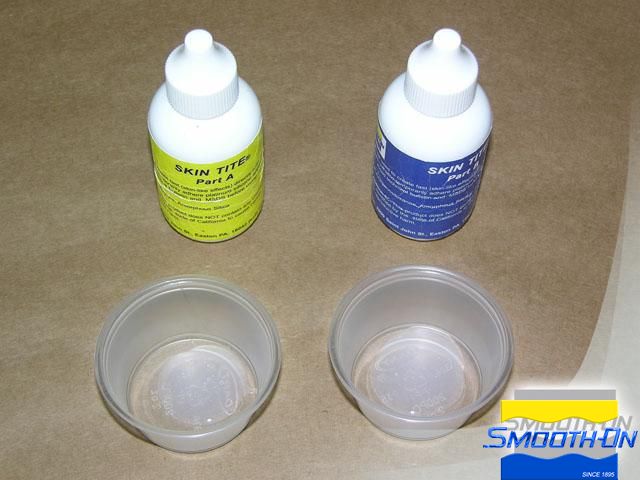
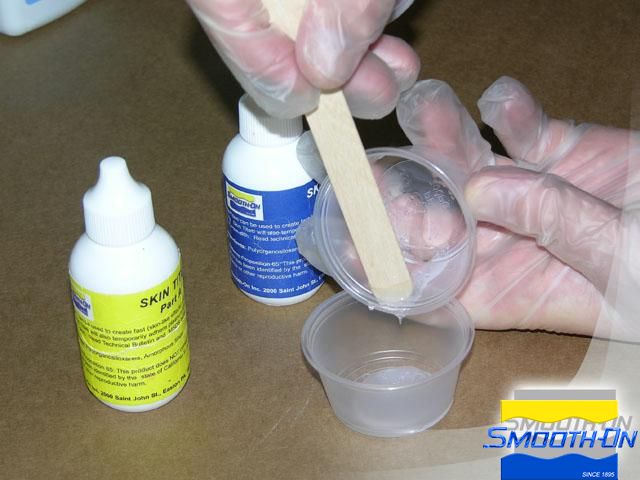
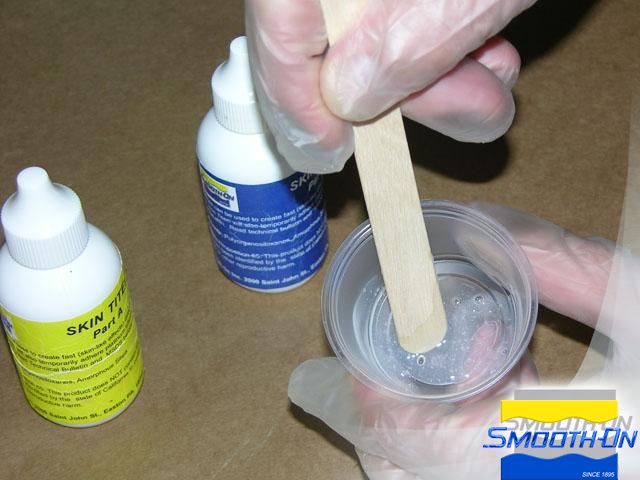
Measure part A and part B of Skin Tite, adding a small amount of Silc-Pig flesh pigment to the Skin Tite part B and mixing together. Combine Skin Tite part B and part A, while mixing thoroughly for 30 seconds.
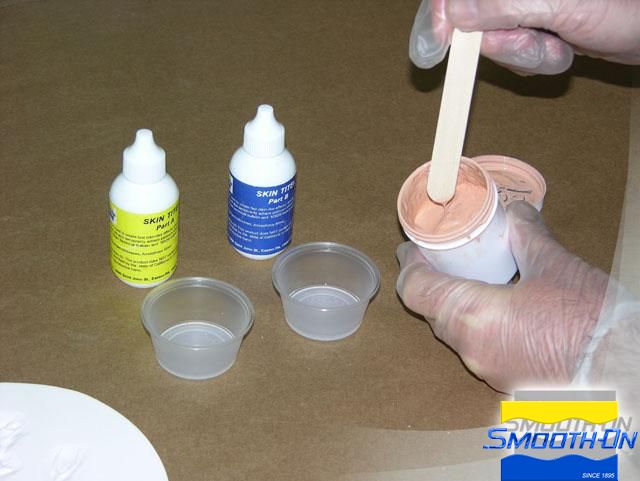
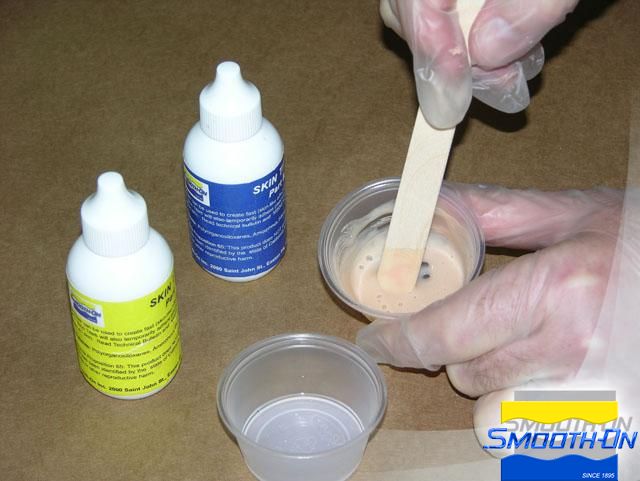
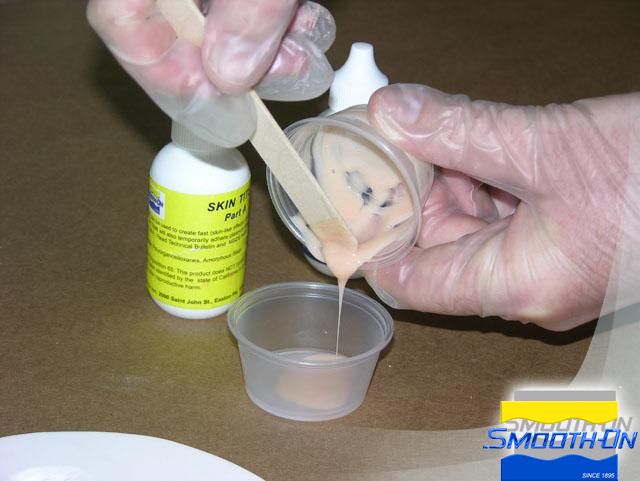
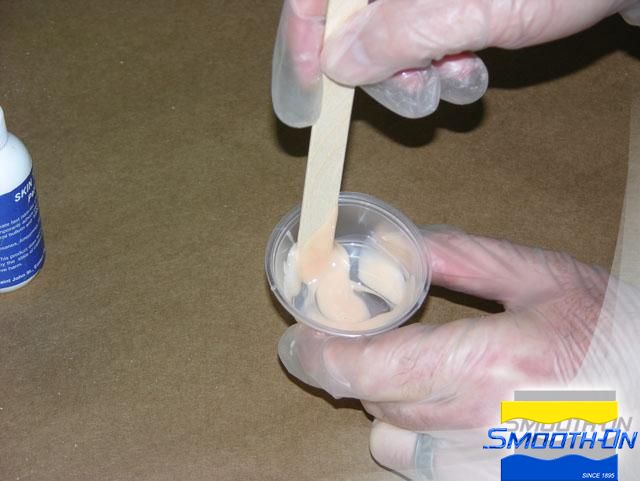
Step 6: Casting and Demolding Skin Tite®
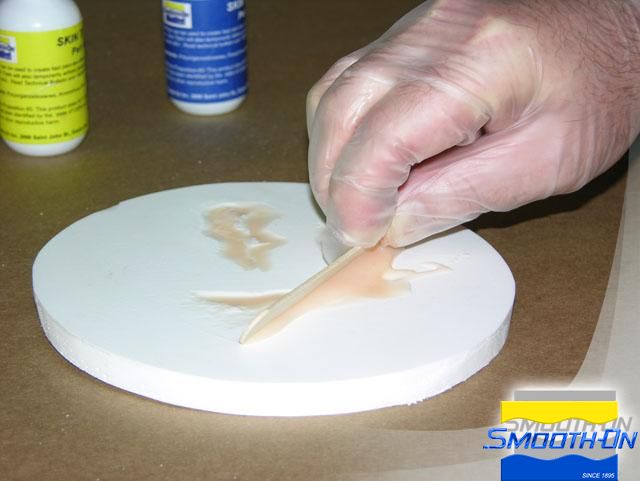
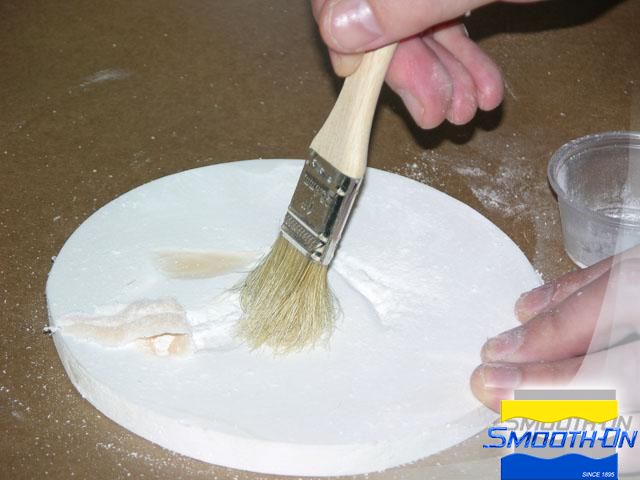
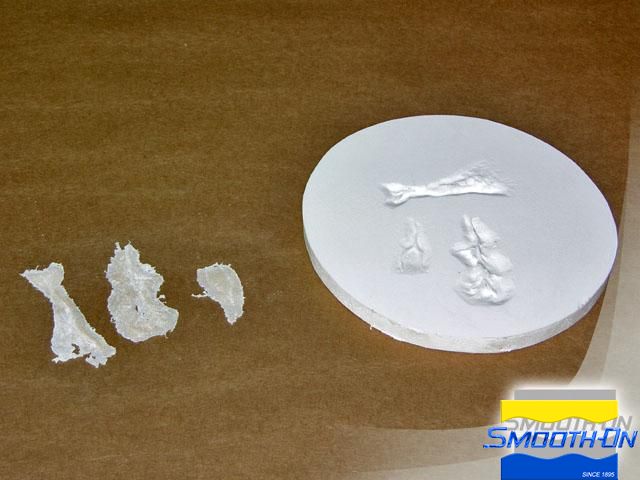
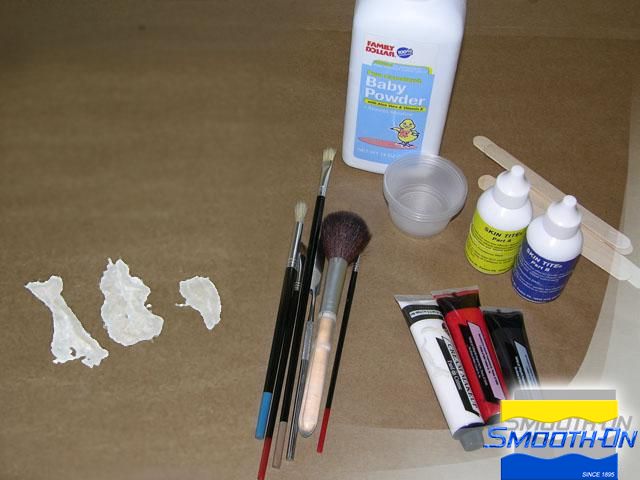
Spread the Skin Tite mixture into the mold cavities. Remove the excess material by scraping a wooden stick over the surface. Next, brush the powder over the pieces to remove them from the mold. The finished pieces have very thin edges, and are very soft.
Step 7: Applying Wound To Model
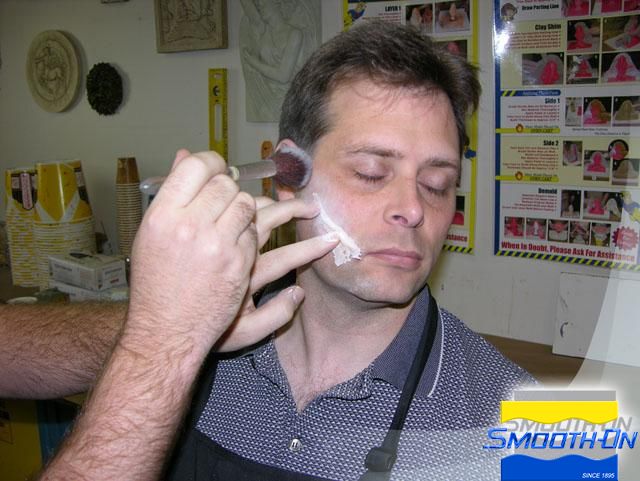
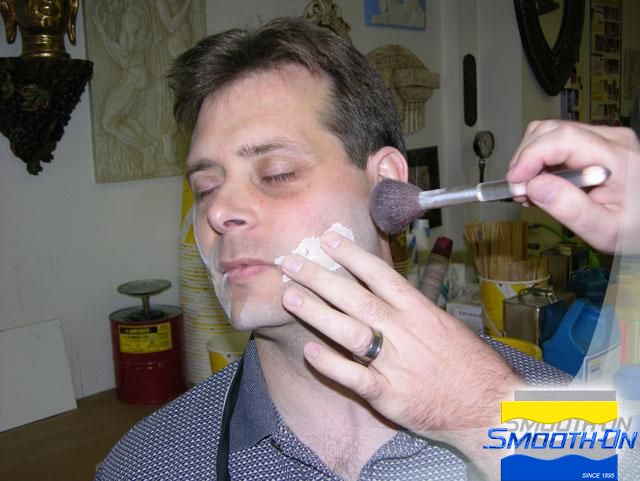
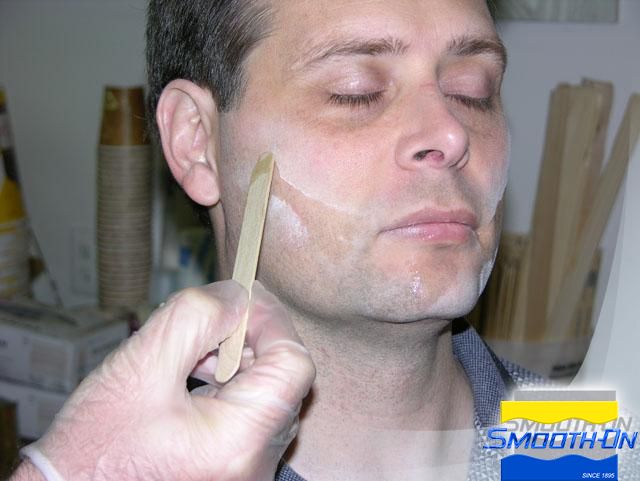
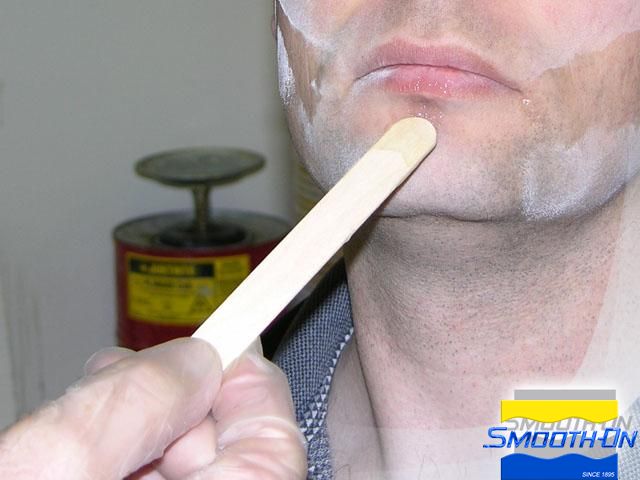
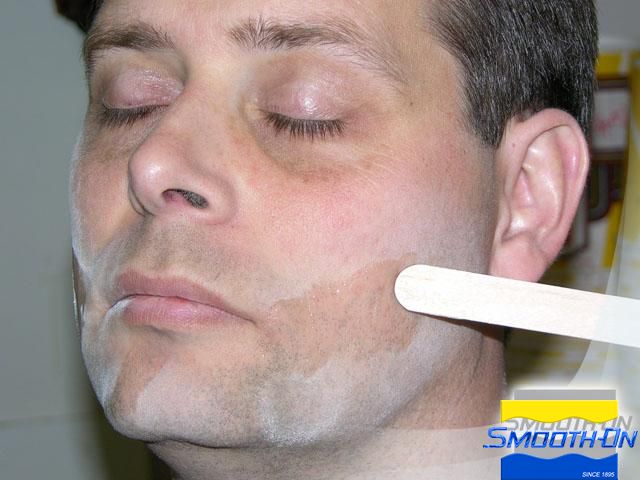
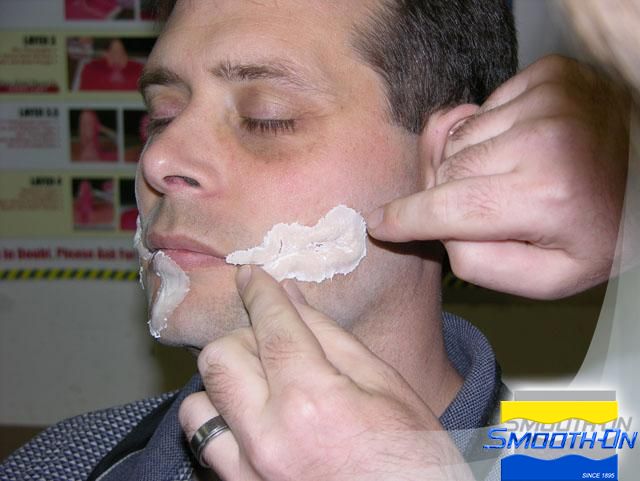
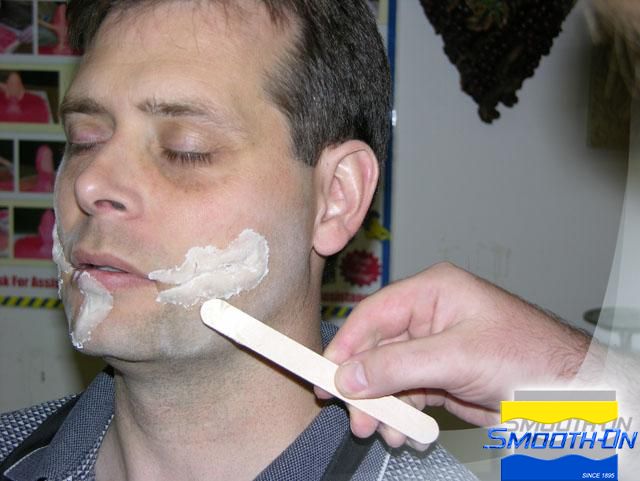
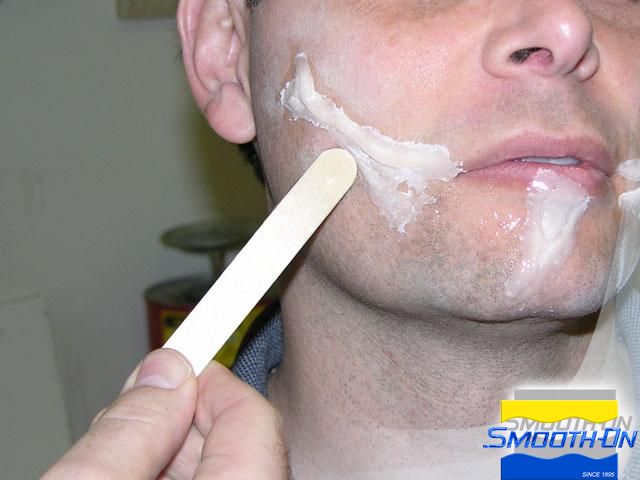
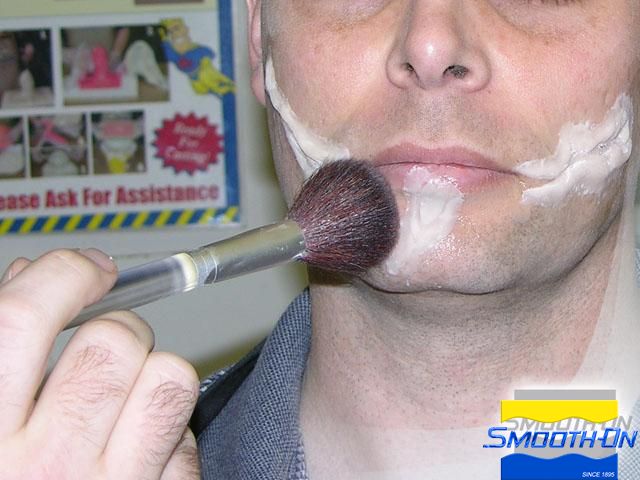
Assmeble the tools and materials for applying the silicone scars. Place a scar on the face and apply the powder to leave an outine, showing where to apply adhesive. Repeat this process with the remaining scars to created outlines as well.
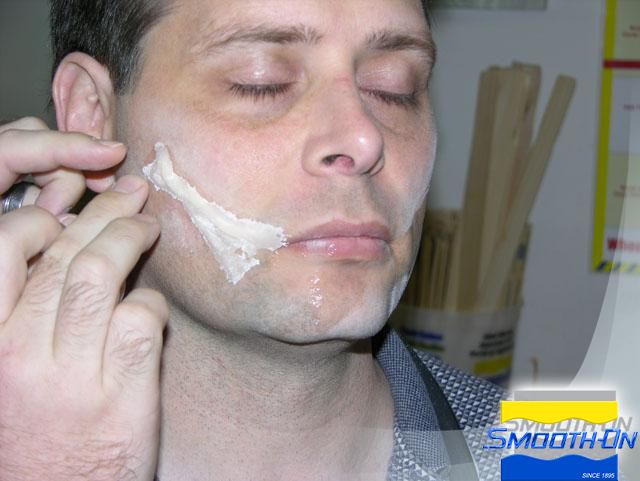
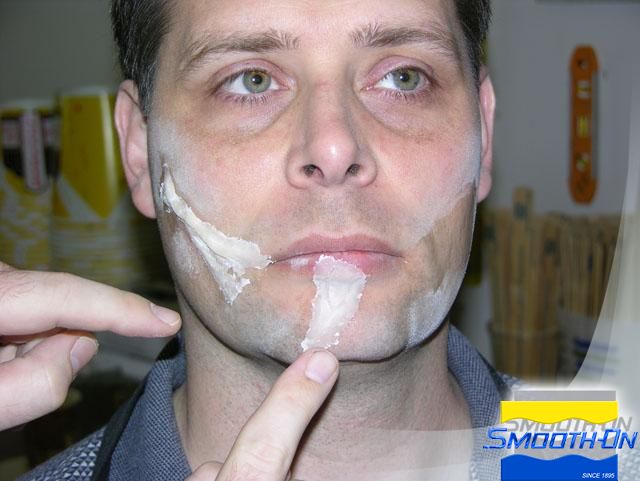
Measure equal amounts of Skin Tite parts A and B and combine them, mixing thoroughly for 30 seconds. Apply a small amount of the Skin Tite to the skin in each of the facial scar areas. Once the Skin tite becomes tacky, begin gently applying the facial scars to each of the scar areas.
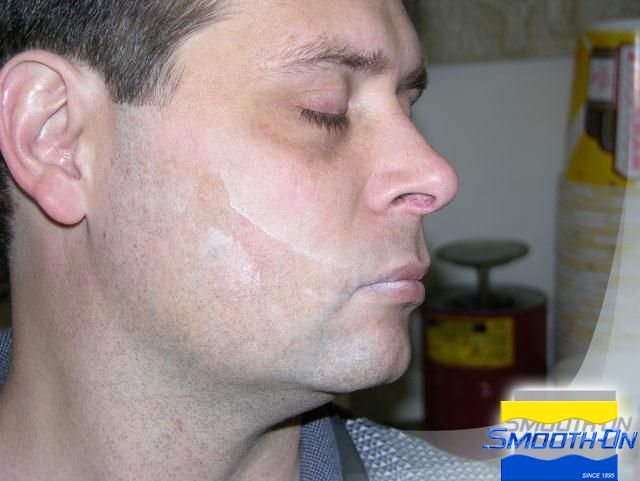
Mix a small amount of Skin Tite and apply to each of the scar appliance edges to blend. Lightly powder the pieces to set them and remove the tackiness of the Skin Tite.
Step 8: Applying Makeup
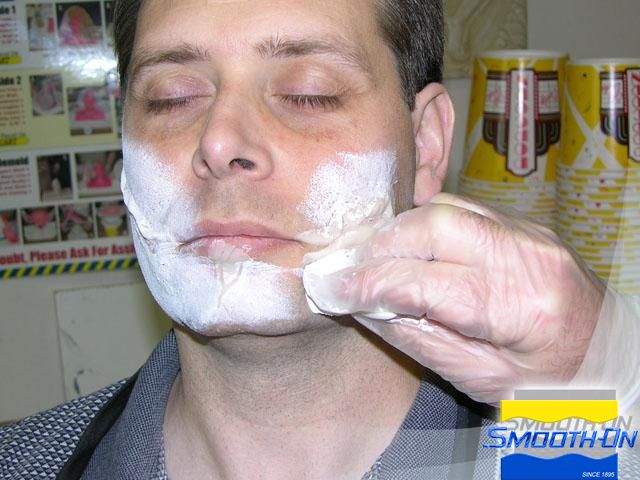
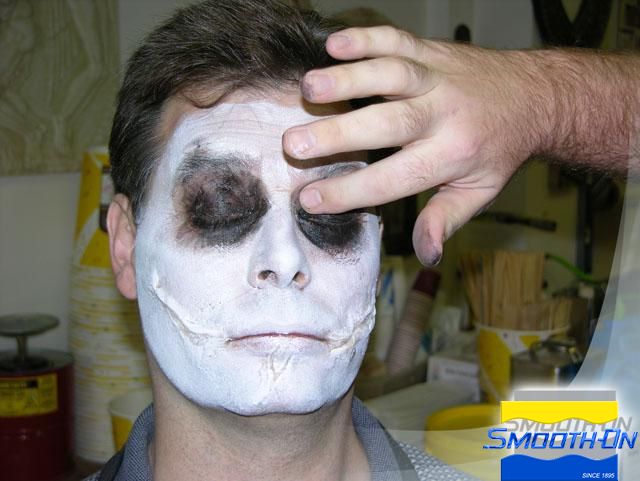
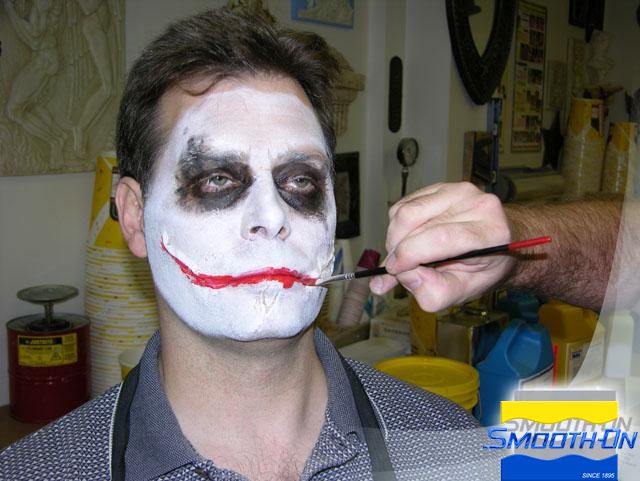
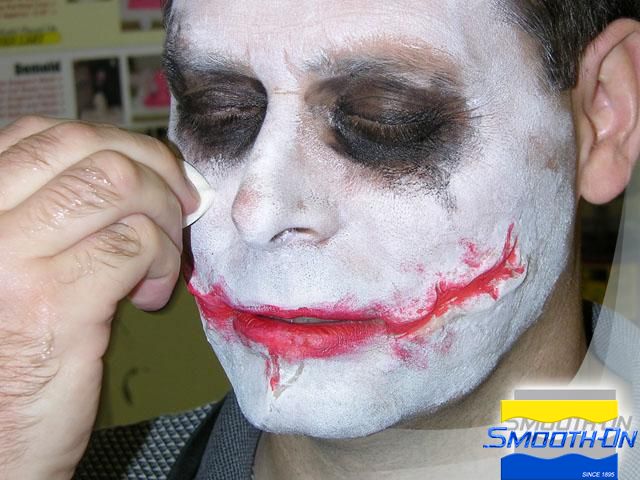
Apply a white cream makeup to the entire face. Then, gently apply black cream makeup to the eyes and smear for a distressed look. Paint the lips and scars with a red cream makeup. Gently wipe a wet sponge over the makeup to further distress the surface and blend the edges of the scars into the surrounding skin.
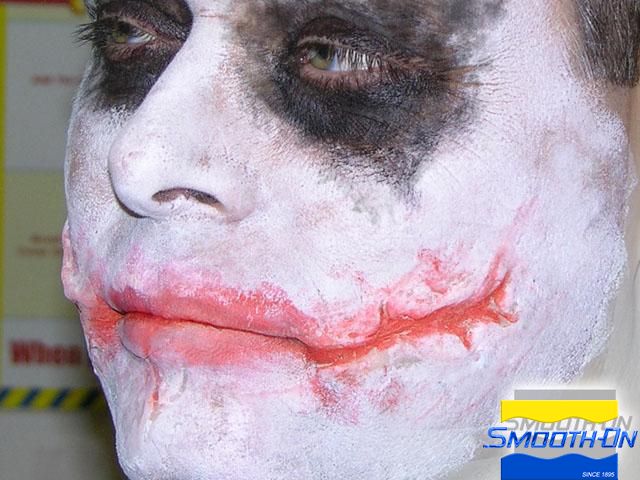
Step 9: Final Makeup
The flexible Skin Tite scars bend and move with every expression.

文件下载 ›