EZ-Spray® Silicone 35
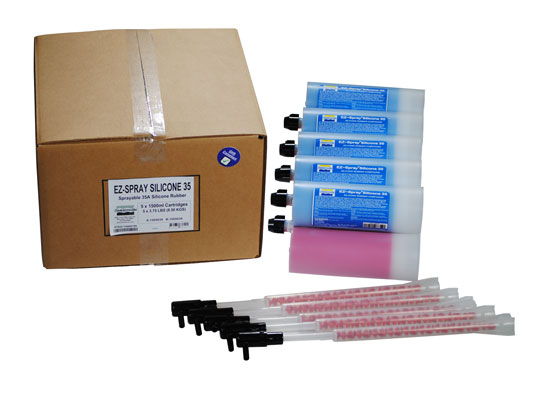
说明
Do Not Attempt To Spray Rubber Or Plastic Without First Reading The EZ~Spray® Junior Manual!
Inhibition - Platinum silicones are especially susceptible to inhibition by a variety of contaminants (such as sulfur-based clays) resulting in tackiness at the pattern interface or a total lack of cure. If compatibility between the rubber and the surface is a concern, a small-scale test is recommended. Apply a small amount of rubber onto a non-critical area of the pattern. Inhibition has occurred if the rubber is gummy or uncured after the full cure time has passed.
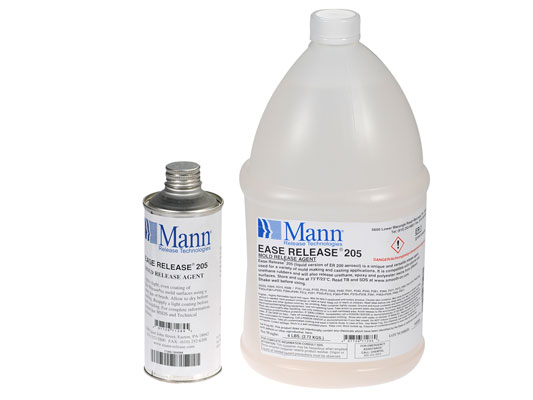
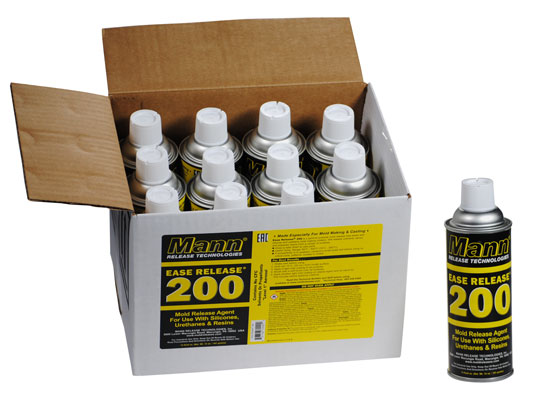
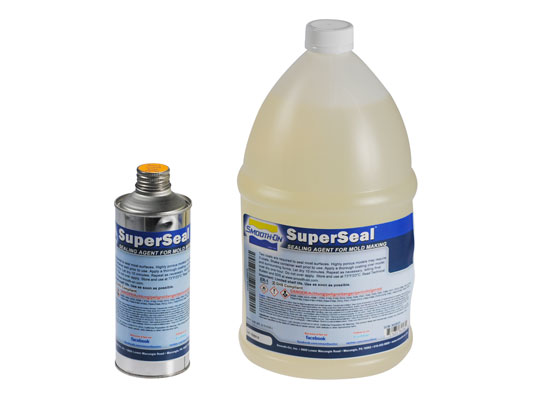
Applying A Sealer / Release Agent - To prevent inhibition, a “barrier coat” of clear acrylic lacquer sprayed directly onto the pattern is usually effective. Allow to thoroughly dry. Although not usually necessary, a release agent will make demolding easier when casting into or over most surfaces. Ease Release® 200 is suitable for releasing silicone from silicone. Mann Ease Release® products are available from Smooth-On or your Smooth-On distributor. If casting silicone into silicone, use Ease Release 200® only.
Because no two applications are quite the same, a small test application to determine suitability for your project is recommended if performance of this material is in question.
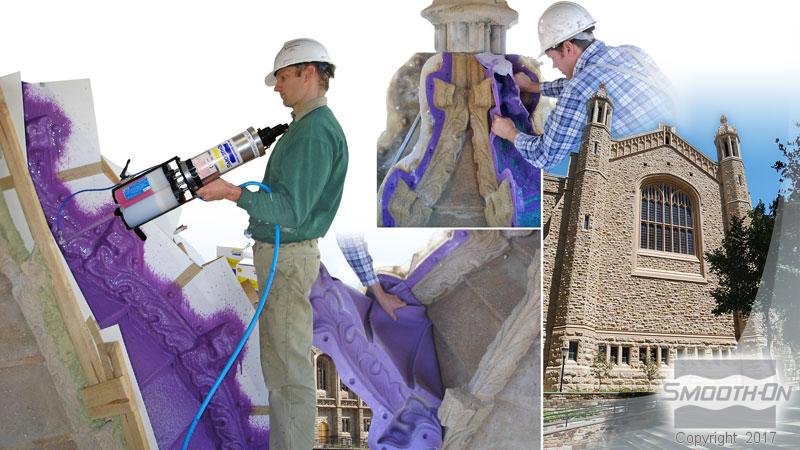
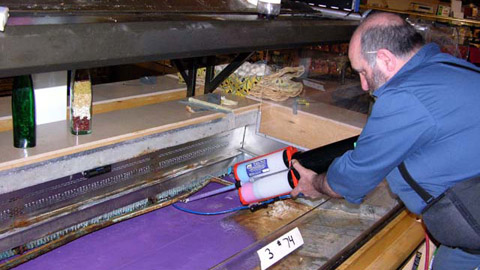
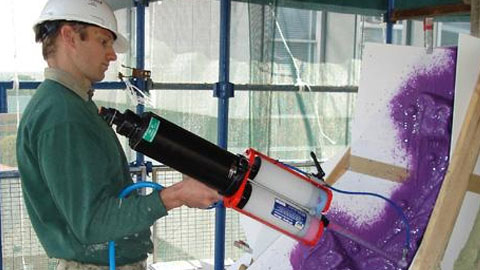
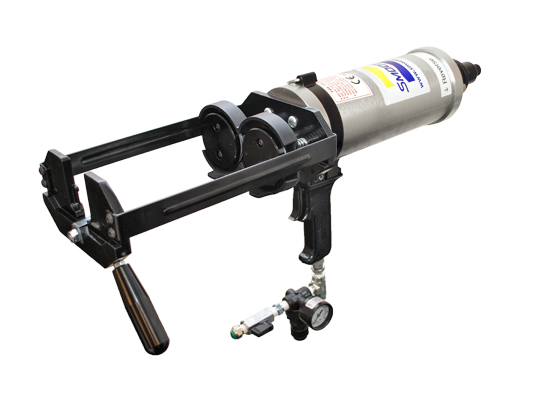
After material cartridge is loaded & prepared depress EZ-Spray Gun trigger and begin spraying.
Applying The Rubber - This product must be sprayed in layers. Generally, 2 - 4 layers (minimum 3/8”-1/2” or 1 cm thickness) is suitable for a working mold. The first layer, the detail coat, is a thin layer to capture model detail. Subsequent coats will add strength to the mold. Spray undercuts and recesses first. Have an extra pair of hands to brush rubber as it is applied. Let the first coat dry for two minutes at room temperature or when it becomes “tacky” before adding the next coat. Repeat until the necessary thickness is achieved. Do not allow rubber to fully cure between layers, as delaminating may result.
Curing - Allow the mold to cure for one hour at room temperature (773°F/23°C) before demolding. Do not cure rubber where temperature is less than 65°F/18°C. Post curing the rubber after rubber has cured at room temp. (applying heat—150°F/65°C for 4–6 hours) will increase physical properties and performance significantly.
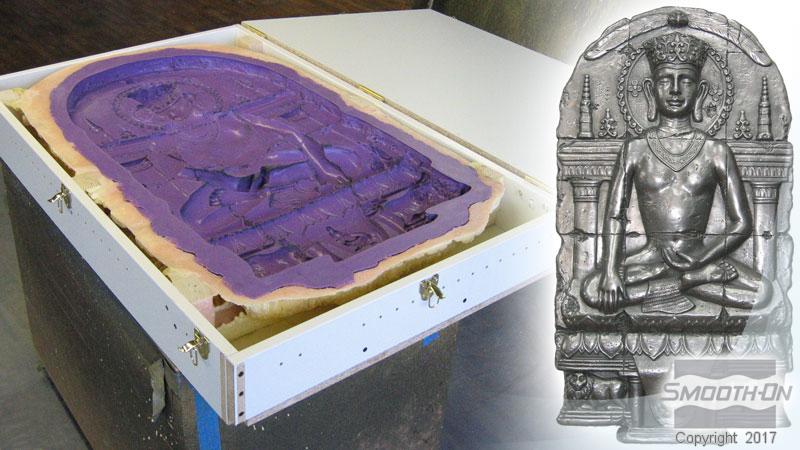
Apply Support Shell - After all layers of rubber fully cure (1 hour) a support shell should be applied over the rubber mold to prevent the mold from distorting when casting into it. Use Smooth-On’s EZ~Spray® Plastic to spray on a hard, durable and lightweight plastic shell. Follow directions given in the EZ~Spray® Junior manual.
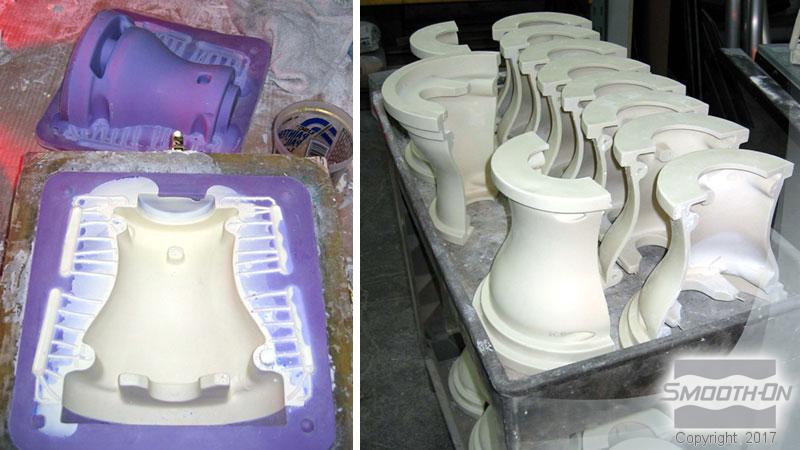
Using The Mold - A release agent is not necessary; however using a release agent prior to casting lengthens the production life of any rubber mold. The type of release agent to use depends on the material being cast. Universal® Mold Release is good for releasing resins recommended for most applications and is available from SmoothOn or your local distributor.
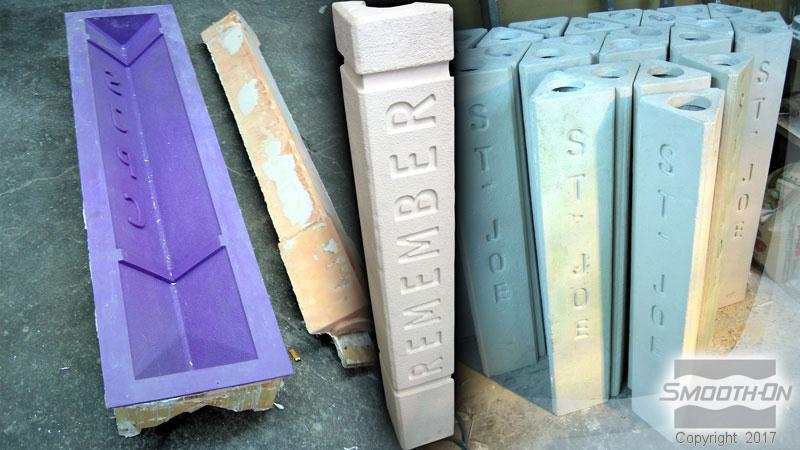
Mold Performance & Storage - Fully cured molds are tough, durable and will perform if properly used and stored. The physical life of the mold depends on how you use it (materials cast, frequency, etc.). Casting abrasive materials such as concrete will eventually erode mold detail, while casting non-abrasive materials (wax) will not affect mold detail. Using the right release agent is essential in all cases. Contact Smooth-On to discuss your particular application. Before storing, the mold should be cleaned with a soap solution and wiped fully dry. Two part (or more) molds should be assembled. Molds should be stored on a level surface in a cool, dry environment. Do not stack molds; expose them to moisture or UV light.
