使用EZ-Spray系统修复石制品
概述
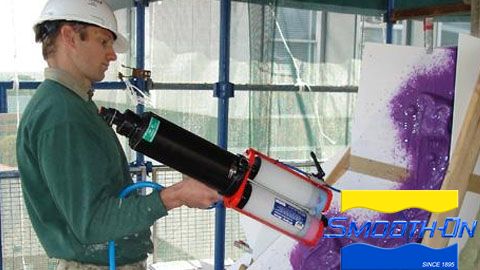
Overview
PROJECT: Make molds to replace crumbling stonework at a university in Australia.
PROBLEM: Project deadline is quickly approaching.
ANSWER: Use Smooth-On's EZ-Spray® Jr. system and EZ-Spray® Silicone 35 rubber.
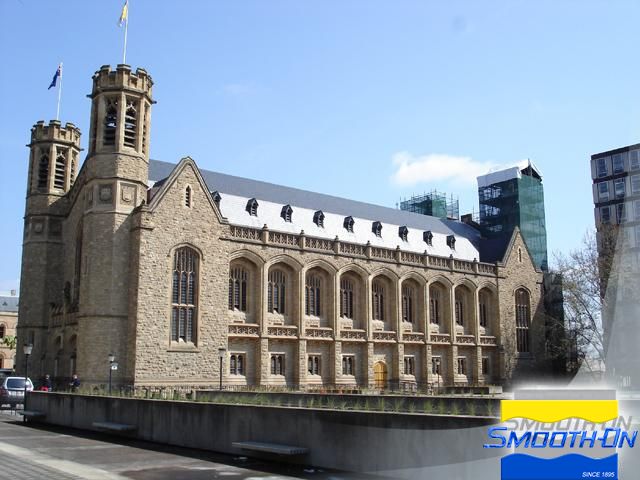
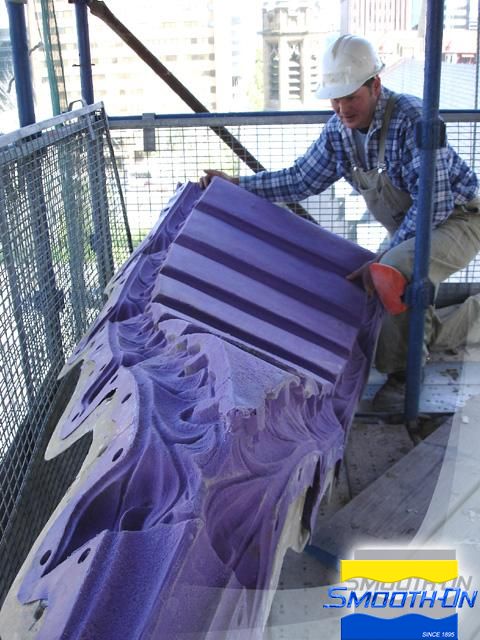
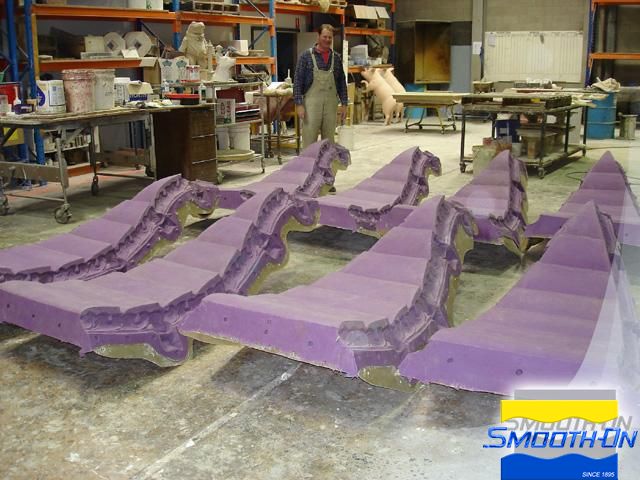
Adelaide University's Bonython Hall in South Australia was in need of renovation. As part of the project, two domes at the back of the building had to be replaced due to the deterioration of the stone work. It was decided that an eight-section mold of one of the domes would be created. This mold could then be used for the recasting, in glass reinforced concrete, for both domes.
Russell Brown from Rubber Impressions was contracted to make the molds. After seeing a demo of Smooth-On's EZ-Spray Jr. system, Brown decided to make the dome molds from EZ-Spray Silicone backed with a mother mold of fiberglass.
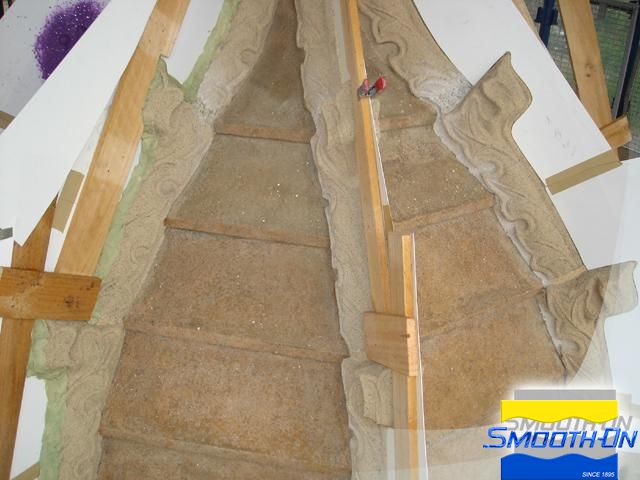
The domes consisted of eight segments, each 2.6m high and 1.1m wide at the base, which were shimmed and sealed with Smooth-On's Super Seal®. Each section took about 6 hours to spray. Following the application of EZ-Spray Silicone, each section was then given a smooth coat of Smooth-Sil® 930 thickened with Thi-Vex® to fill any holes or unevenness on the surface of the EZ-Spray Silicone. This also helped prevent any mechanical lock on of the fiberglass support jacket.
Brown estimated that had he used a brushable polyurethane rubber each individual panel would have taken three days to mold. The EZ-Spray Jr. system saved him more than two weeks time and thousands of dollars in labor costs.
Materials Used in this Tutorial
- EZ-Spray Silicone
- EZ-Spray Jr.
- Thi-Vex
- Smooth-Sil 930
- SuperSeal
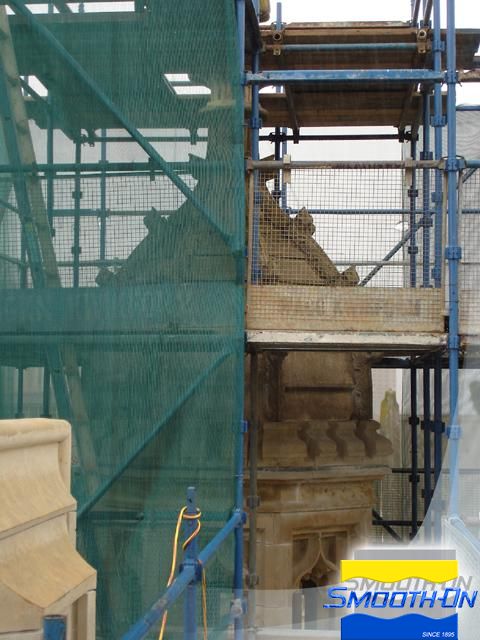
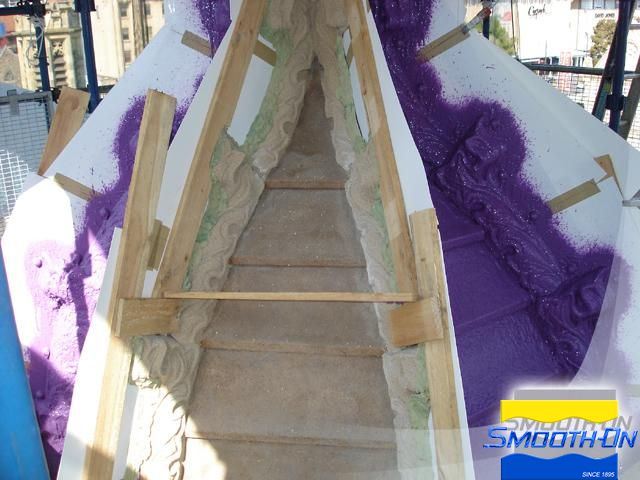
Bonython Hall is on the campus of Adelaide University in South Australia and has an eight-sided dome that is being prepared for the mold making process. Parting shims were created from clay and wood to segment the dome. Smooth-On's Super Seal® was then used to seal the stone surface and shims.
Step 2: Applying EZ-Spray Silicone
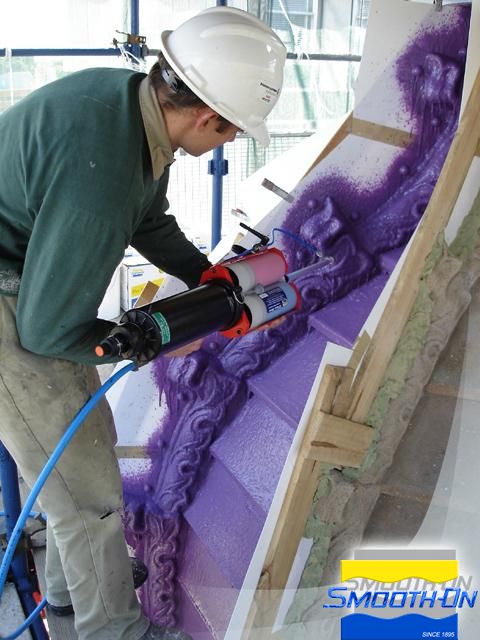
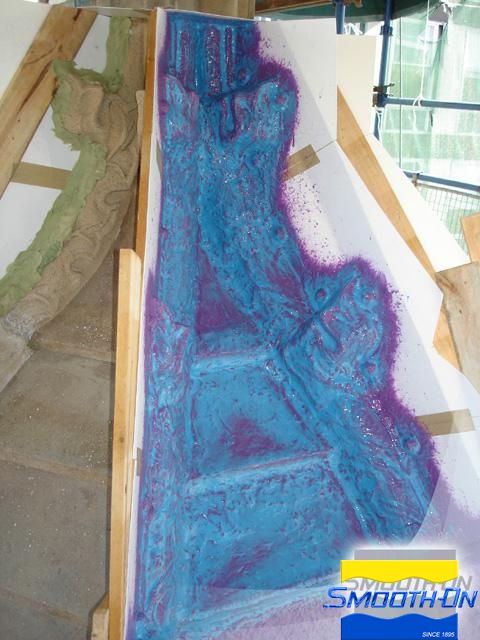
Smooth-On's EZ-Spray® silicone is sprayed in layers over the original. The EZ-Spray® Jr. gun is highly maneuverable allowing mold rubber to be applied to undercuts and hard to reach areas. Typically 4 layers are sprayed to an ultimate thickness of 3/8'' (1cm). Smooth-Sil® 930 is thickened with Thi-Vex® thickening agent. Thickened rubber is used to fill deep undercuts to prevent mechanical lock between the support shell and the original model. The process is repeated as sections are completed one at a time.


Step 3: Applying Plasti-Paste Support Shell
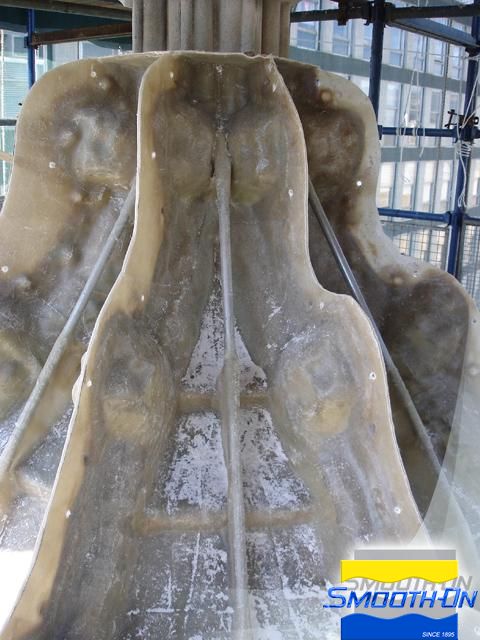
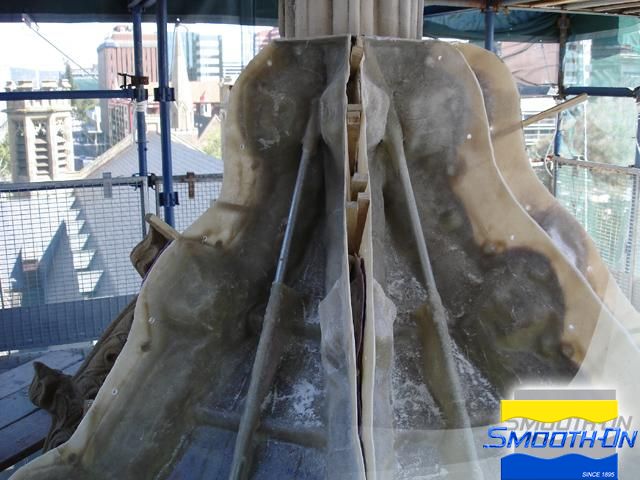
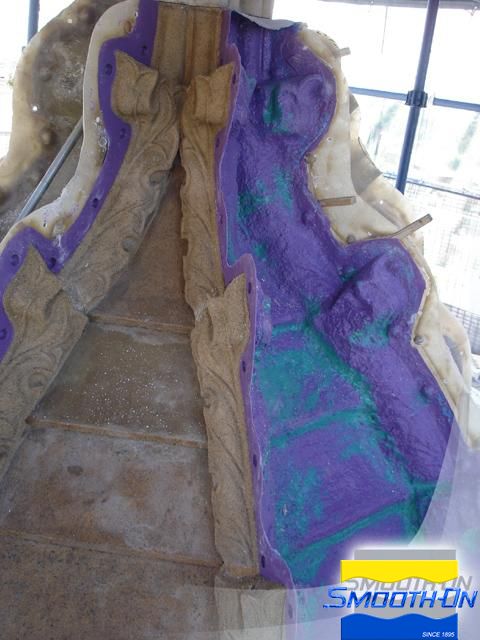
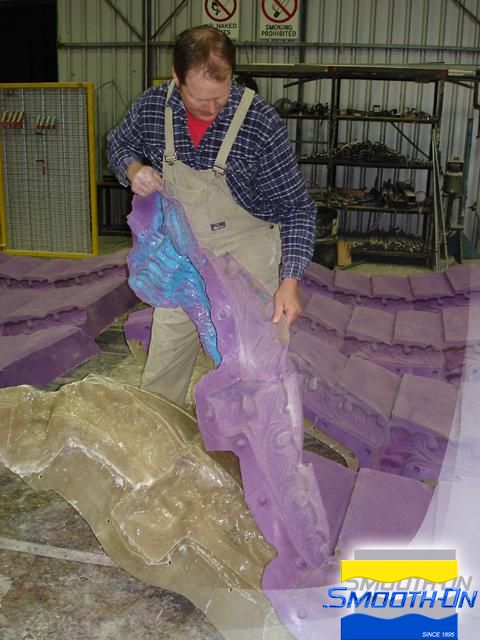
Once the mold rubber has fully cured, the support shell segments are created using fiberglass and resin. The shell is built in eight pieces with supports embedded for better structure. Once the support shell has fully cured, sections are removed exposing the cured rubber mold.
Step 4: Finsihing
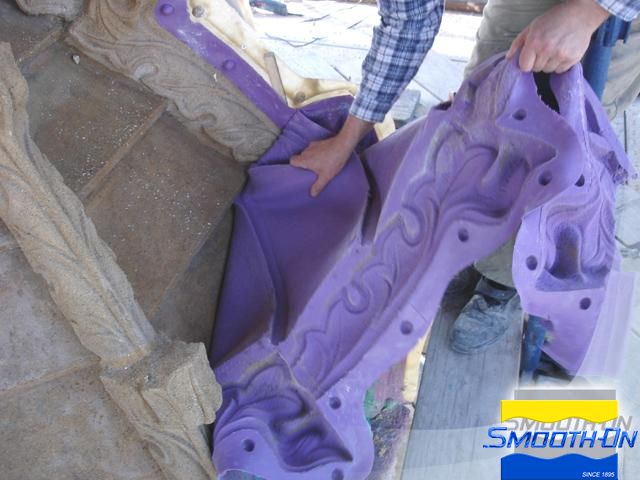
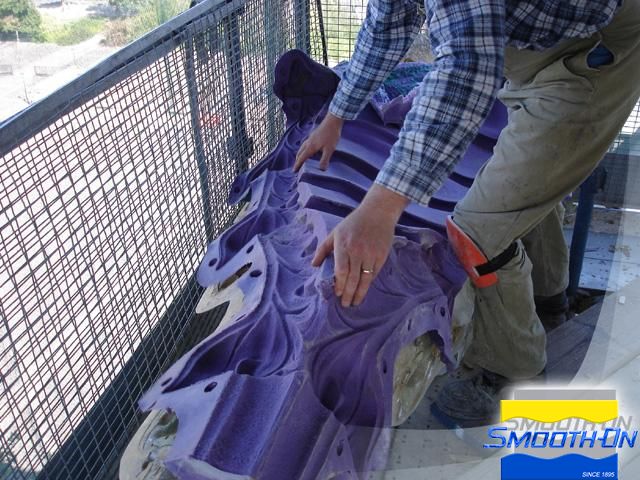
E-Z Spray® silicone is flexible and can be peeled back from the original. Silicone also offers good tear strength. Rubber mold segments are then seated into their respective support shells. Mold segments are readied for transport to Rubber Impressions' casting facility. At the casting facility, mold sections will be re-assembled. The EZ-Spray® sections are ready for assembly and GFRC casting

文件下载 ›