制作自己的硅胶万圣节面具
概述

Overview
You can make a quick and easy brush on silicone Halloween mask that looks like it took days to create. Professional mask makers will spend days crafting an elaborate and highly detailed silicone mask and then sell it for hundreds or even thousands of dollars to film makers, collectors, etc.
Here's an easy way to make a mask using skin-safe Dragon Skin Fast that takes only a few hours to create but can be almost as scary cool as masks created in days. A thin skin of silicone is brushed in layers onto a head form, resulting in a very stretchy, creepy silicone mask which is skin safe and can be taken on and off easily. When you wear the mask it will bend and flex with your expressions. Your imagination is your only limit in designing your own custom mask!
Materials Used in this Tutorial
- Styrofoam Wig Head
- Large Piece Of Spandex Or Other Stretchy Fabric
- Base Board (Melamine board is recommended)
- Glue Gun
- Disposable Brushes
- Mixing Containers
- Mixing Sticks
- Scissors
- Dragon Skin Fast Silicone
- Silc-Pig Pigments
- Thi-Vex Silicone Thickener
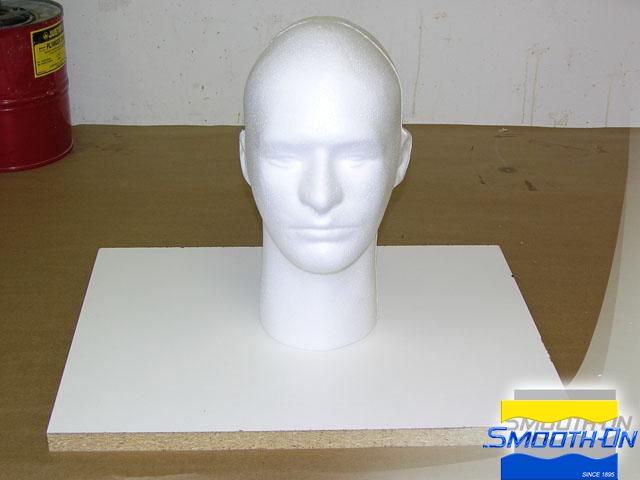
Begin by placing a foam wig head on a base board. Then glue the wig head to the base board using the hot glue gun.


Step 2: Dispensing and Applying Dragon Skin 10 Fast & Fabric
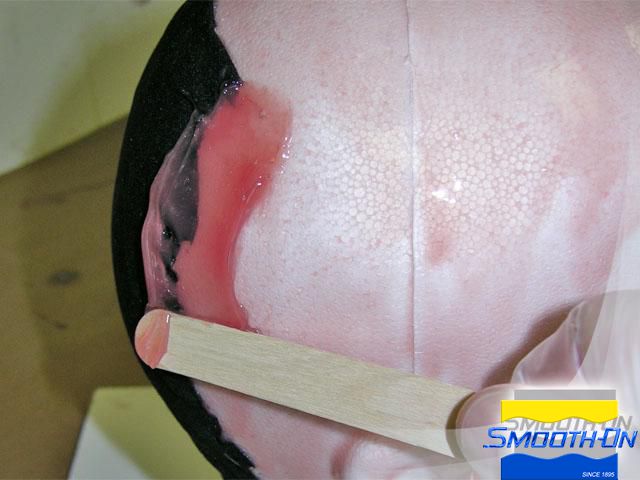
Mix Dragon Skin® Fast 1A:1B by volume, add Silc-Pig® BLOOD and then brush a thin layer of the mix over the entire wig head. Leave a space for the fabric to be applied.
After the silicone becomes tacky, apply the pre-cut piece of fabric. Allow this first layer of silicone to fully cure for 75 minutes.


Step 3: Dispensing and Applying the Second and Third Layer Of Dragon Skin 10 Fast
Mix another batch of Dragon Skin® Fast with Silc-Pig® BLOOD and add a few drops of Thi-Vex® thickener.
Apply some of the silicone along the edges of the fabric. Use the rest of the thickened mixture to build up facial details. After the second coat cures, apply another thin layer, pigmented using Silc-Pig® pigments.
After the third layer cures, stipple a final pigmented layer of Dragon Skin® Fast to appear as skin.


Step 4: Detailing Mask
A small amount of additional Dragon Skin® Fast with Silc-Pig® black pigment can be used to apply shadows or to apply zombie blood. The mask is now complete and should be allowed to cure for at least 75 minutes.


Step 5: Demolding Mask
A sharp knife can be used to cut and remove the flashing around the bottom of the mask neck. You can now carefully remove the mask from the wig form. While the mask is inside out the eyes, nostrils, and mouth areas should be cut out.


Step 6: Fitting Mask
You can now turn your mask right-side-out and it is ready to wear. Fit the mask on your model and make sure that they can see and breathe without difficulty.


Step 7: Final Piece
A small amount of makeup can be applied around the eyes to complete the look.

文件下载 ›