Rubber Glass®
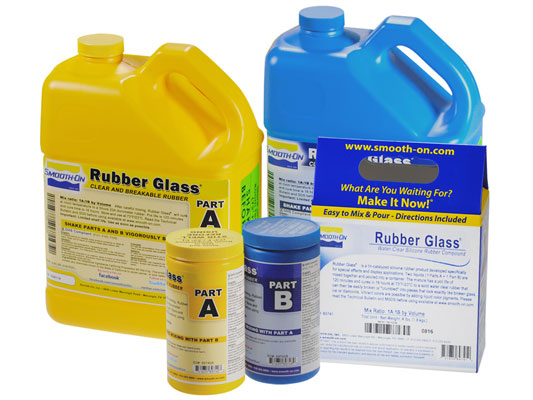
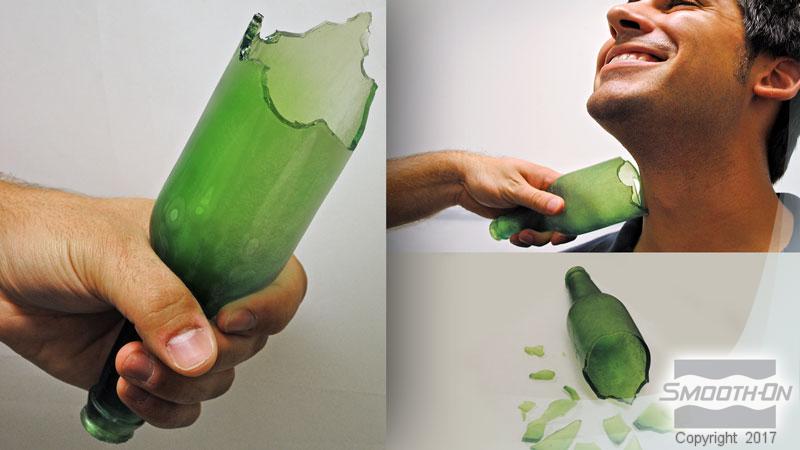
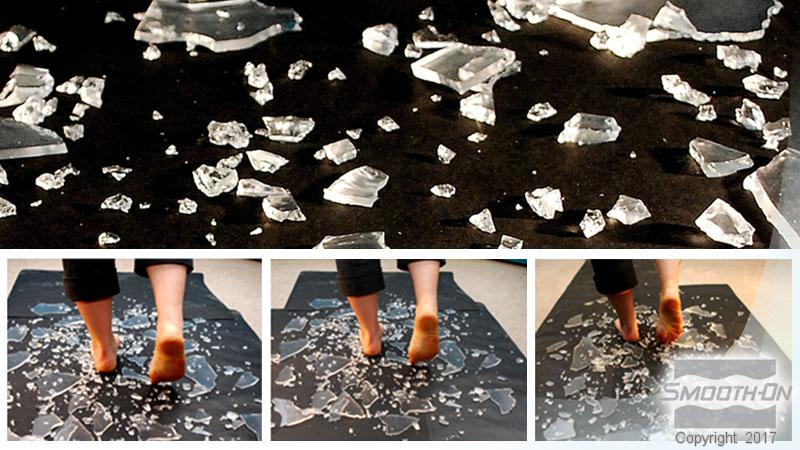
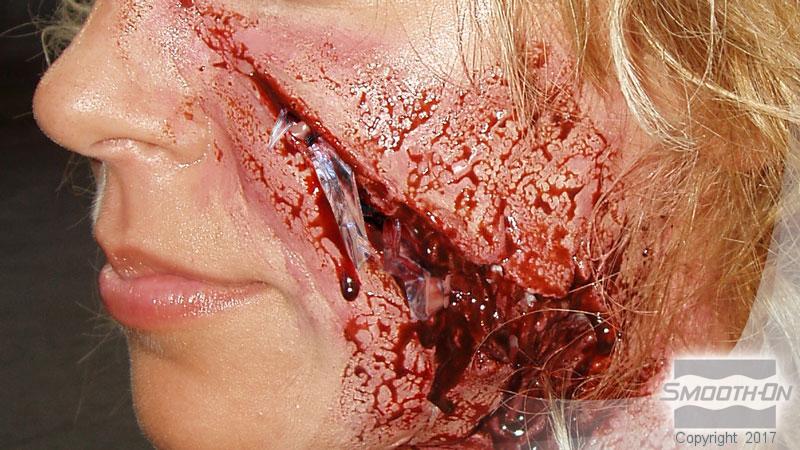
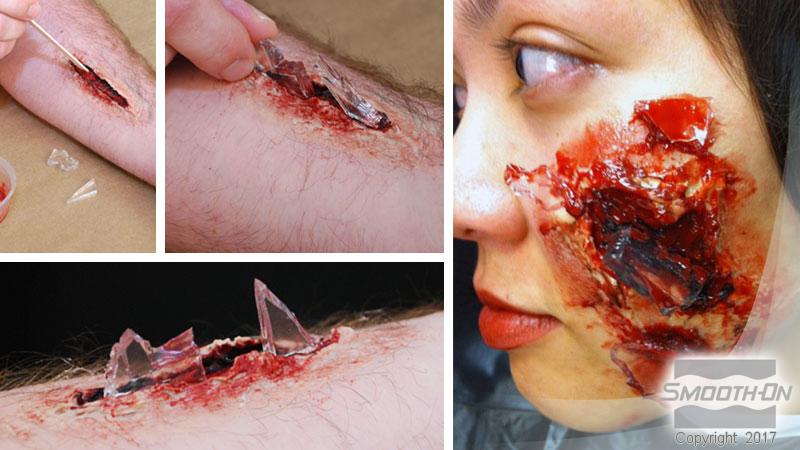
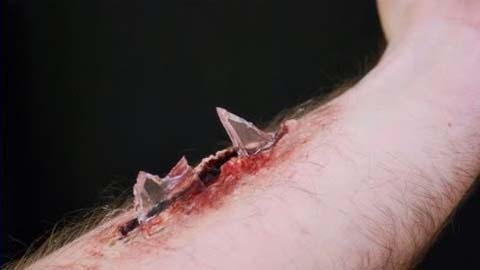
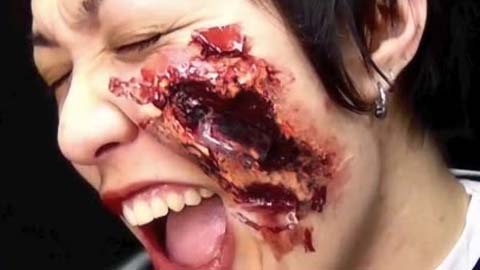
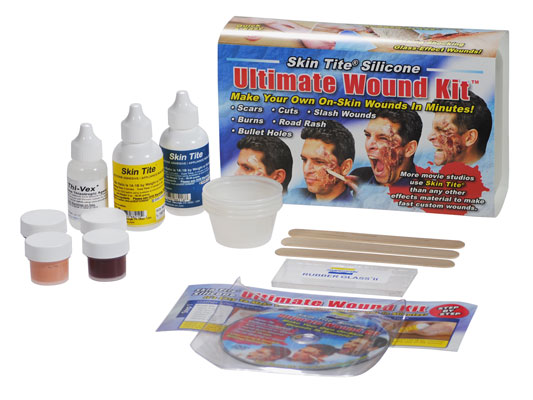
Rubber Glass® 可用于制作各种特殊效果(例如需要人体接触的模拟碎玻璃)和模型效果(即模拟冰或水)。也可以用于电子封装应用。
说明
Dispense One Parts A and One Part B by weight or volume into mixing container. Mix thoroughly for at least three minutes, making absolutely sure that you scrape the sides and bottom of your container several times.
Do not whip or agitate material as this may cause air bubbles. If completely bubble free castings are required, vacuum degassing material prior to pouring will eliminate all bubbles.
Pouring - Pour mixture into a plastic container or mold (ice cube trays or plastic cups made of polyethylene work well). If pouring into or over other surfaces, be aware that cure inhibition is possible (see section below – “Cure Inhibition”). If casting into silicone molds, a release agent (Ease Release® 200 available from Smooth-On) is required.
Curing - Let cure overnight at room temperature (73°F/23°C). Colder temperatures will slow the curing process. Material castings thicker than 2” (5 cm) may take longer to cure. Material is cloudy when first mixed but clears during cure.
Cure Inhibition - If compatibility between the rubber and the surface that you are pouring rubber over is a concern, a small scale test is recommended. Materials found to cause cure inhibition include sulfur-based modeling clays and latex rubber. If pouring Rubber Glass® II over a model surface that you think might cause inhibition, apply a “barrier coat” of clear acrylic lacquer sprayed directly over all surfaces that will come in contact with the Rubber Glass® II is usually effective.
Adhesion: Rubber Glass® II may stick to some surfaces such as glass. A coating of Ease Release® 200 will facilitate release from any surface.
Material Performance - Once material has fully cured it can be removed from the container or mold. Cured Rubber Glass® II is now ready to be displayed as is or broken/crumbled for your specific application.
Because no two applications are quite the same, a small test application to determine suitability for your project is recommended if performance of this material is in question.
